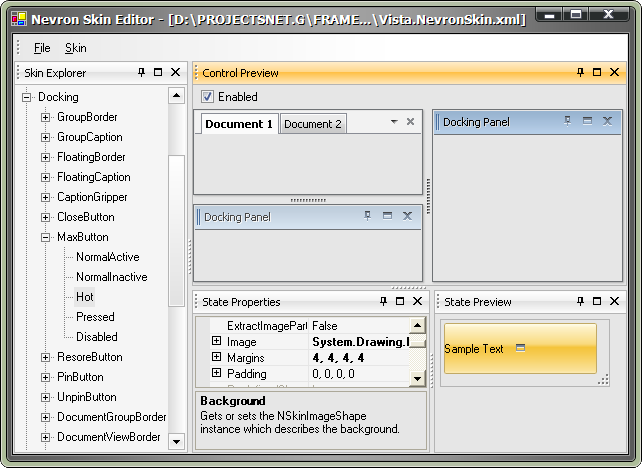
The Skin Designer with the Vista.NevronSkin.xml skin loaded
Nevron .NET Vision is shipped with a stand-alone application which allows you to visually edit an NSkin instance. On the left side is docked the “Skin Explorer” panel which populates all the parts and states currently available in a skin. On the right side are docked three panels – the top is used to host a control preview, specific to the current skin state edited. The two bottom panels host a property grid with the current skin state populated in it and a live preview of how this state appears.
Only controls contained within the "Control Preview" panel are skinned. The editor itself is not skinned.
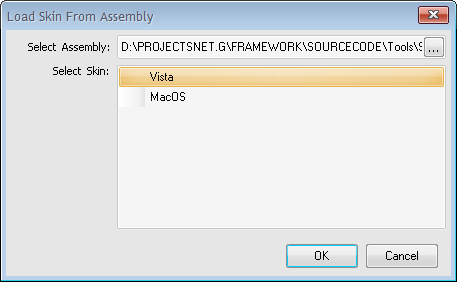
Use the "File->Load Skin…" command to load an existing XML skin file. Use the "File->Load Assembly" command to load an assembly which contains a Nevron Skin file as an embedded resource.

The Load Assembly dialog which allows you to load a NSkin contained as an embedded resource
Use the "Skin->Add New Entry" command to add a new skin entry for the currently selected skin state. Use the "Skin->Remove Current Entry" command to remove an existing skin entry. Use the "State Properties" panel to modify the current entry so that the desired appearance is achieved.
The "File->Save" and the "File->Save As…" commands will attempt to save the currently opened skin into a file. If you need to embed that file into an assembly you should manually add it as an embedded resource. Each skin file, which will be embedded into an assembly, should have the following naming convention
[path].[skin name].NevronSkin.xml
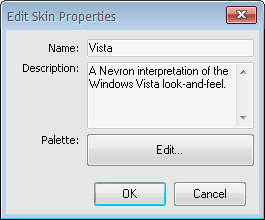
in order to be properly resolved. You should also properly adjust the skin properties and especially its “Name” since it is used when loading a skin from an embedded assembly.

The Skin Properties dialog used to modify current skin properties


